Story of Elegance
Hello! Happy Friday!
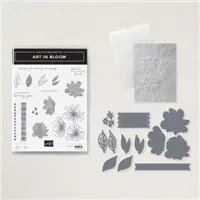
Well, I’ve been playing with Art In Bloom for a few days now, and I started the week with Polished Pink, so I decided to finish out the week with both!
Again today, I used several products on this card, but like the card on Tuesday, this is an easy one to recreate as well. Our products work so well together, mixing and matching them is really fun!
Here’s the card I’m sharing today.

You can look at the Pearl Basic Jewels and quickly see that my camera is not doing justice to the soft and vibrant color of Polished Pink, but I decided to share the card anyway because I still like it. It was my first time trying water coloring so I wanted to share.

A Closer Look
Here’s a closer look at the flowers. To create them, I stamped the flowers in Versa Mark and heat embossed them with Clear Embossing Powder onto Fluid 100 Watercolor Paper and colored them with Polished Pink ink and water using a small paint brush.
Since this is my first attempt at water coloring, the embossing made it super easy to keep the color where I wanted it.
Elegance Made Easy
To recreate this card, start with a layer of Polished Pink card stock cut to 4 1/8″ by 5 3/8″ and add to a card base made of Thick Whisper White card stock.
Then angle a 2 3/4″ by 6″ piece of Polished Pink card stock across the center of a 4″ x 5 1/2″ panel of Basic White card stock and trim to fit. Adhere the trimmed piece to the panel.
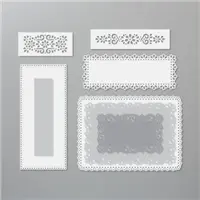
Use the rectangular stamp from Artistically Inked stamp set to stamp a 4″ x 5 1/2″ piece of Basic White card stock using Polished Pink ink. With the long rectangle die from the Ornate Layers die set to die cut the stamped piece. Trim the sides of the die cut to create two border pieces. Glue the border pieces to the sides of the angled Polished Pink piece and trim to fit. Cut a triangle from the center of the die cut stamped piece and add to the corner of the panel and trim to fit. .
Stamp the sentiment from the Through It Together stamp set in Polished Pink in the upper right corner. Add the completed panel to the card base. Glue the water colored flowers that were die cut using the die from the Bloom dies to the center of the angled Polished Pink Panel.
Finish by adding Pearl Basic Jewels.
Complete the ensemble by stamping the envelope flap using the rectangle stamp from Artistically Inked to match.

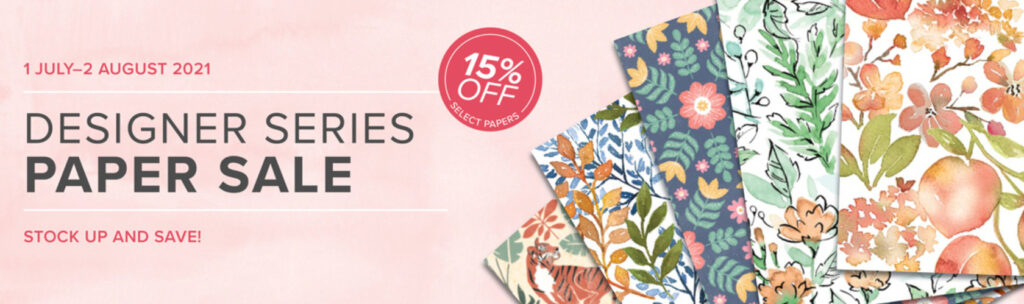
Who doesn’t like a great sale? And a great sale on fabulous DSP is EVEN better! Check out which papers you can choose. 
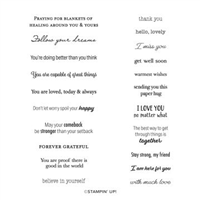
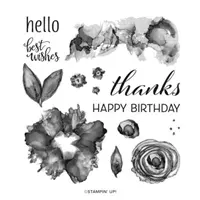
Here are the products I used for today’s card. You can shop with me anytime!


Live Graciously!
